





PostHog Desktop worktrees
Contents
Worktrees give agents a local, isolated checkout inside PostHog Desktop. Use them when you want an agent to work on a separate branch without touching your current working directory.
Getting started
To create a worktree:
- Open the mode selector.
- Choose Worktree.
- Enter your prompt.
- Submit the task.
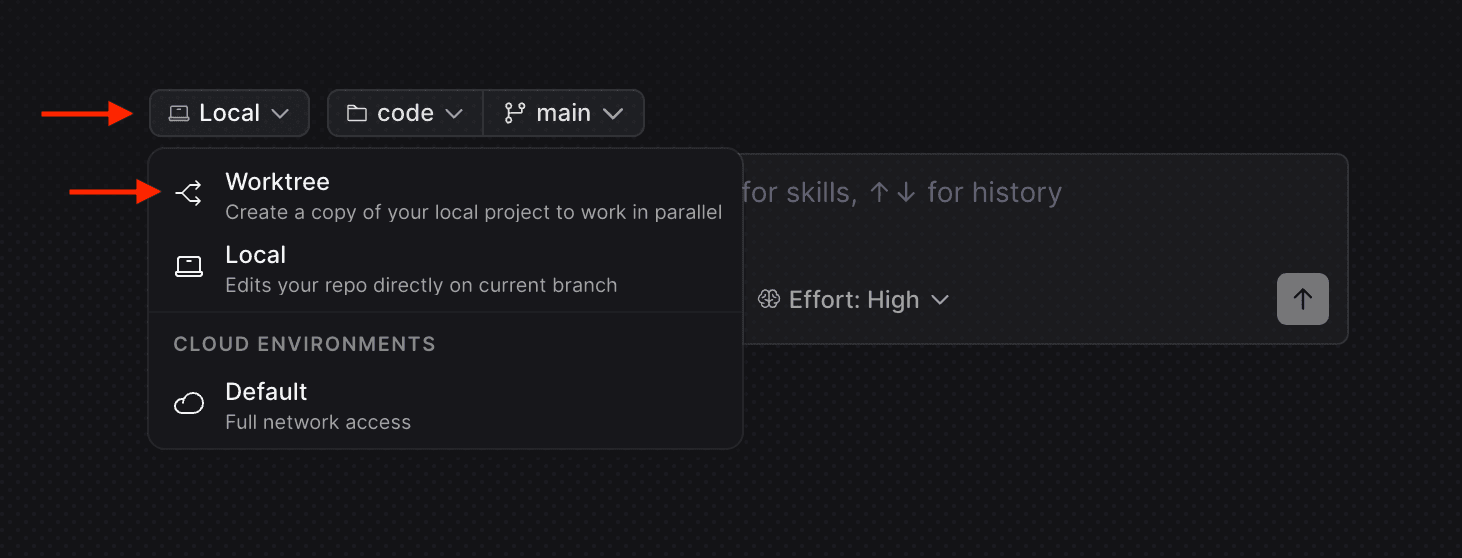
For simple development environments, this is typically all you'll need.
Environment setup
For more complex projects, you may need extra configuration. PostHog Desktop supports two files for this:
| File | Use it to |
|---|---|
.worktreeinclude | Copy required ignored files into each worktree |
.worktreelink | Symlink required ignored files or directories into each worktree |
For setup scripts that run when a worktree is created (installing dependencies, running migrations, and so on), see Local environments.
.worktreeinclude
Worktrees create fresh checkouts of your git repo, so they do not include untracked files like .env.
To automatically copy required files, add them to a .worktreeinclude file at the root of your project.
Example:
This file uses .gitignore syntax. Only matching files that are also ignored by git are copied.
.worktreelink
Some files may be required for your environment but are too heavy to copy, such as a .flox directory.
Add these files or directories to .worktreelink. PostHog Desktop creates symlinks for them when a new worktree is created.
Example:
This file also uses .gitignore syntax. It only creates links to files that are ignored by git.